A pumpkin is one of the best science tools you can buy in the fall. It is big enough to measure, full of seeds to count, heavy enough to make floating surprising, and messy enough to keep children interested. These pumpkin science experiments for kids use one or two pumpkins and ordinary kitchen supplies, and each one follows the same simple pattern: ask a question, make a prediction, test it and talk about what happened.
The ideas below are ordered from the simplest (fine for toddlers with help) to the ones that suit school-age children who can write down data. Pick two or three for an afternoon rather than trying all seven at once.
What you need for most of these experiments
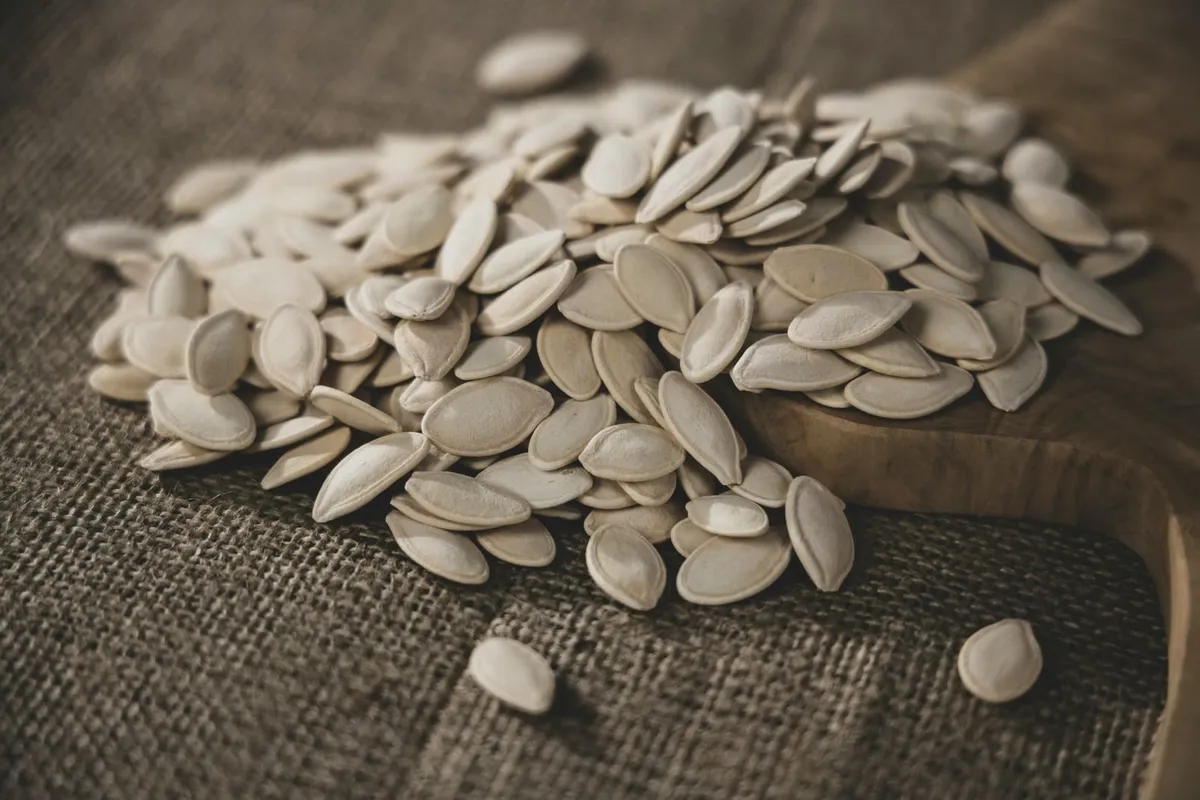
- One medium pumpkin (plus a small one if you want to compare)
- A large bowl or bin of water, a tray and old towels
- Spoons or ice-cream scoops for the insides
- String, a ruler or measuring tape, and a kitchen scale if you have one
- Baking soda, vinegar, dish soap and food coloring for the volcano
- Paper and pencils for predictions and results
A plastic tablecloth on the floor saves a lot of cleaning later.
1. Sink or float: the pumpkin surprise
This is the best experiment to start with because the answer surprises most children.
- Show your child the pumpkin and let them lift it. Ask: “Will it sink or float when we put it in water?”
- Write or draw the prediction.
- Gently place the pumpkin in a bin, sink or bathtub of water.
- Watch what happens, then talk about why.
Most pumpkins float. A simple explanation for young children: “The pumpkin is hollow inside and full of air, like a ball, so the water can hold it up.” Older children can learn the word density: an object floats when it is less dense than water overall. Extend it by testing a small pumpkin, a slice of pumpkin, a single seed and an apple, and sorting them into “sink” and “float” piles.
2. Look inside: a senses investigation
Once an adult has cut off the top, invite your child to explore the inside with their hands and a spoon.
- Touch: Is it slimy, stringy, wet, cold? Is the inner wall smooth or rough?
- Smell: What does it remind you of?
- Look: How are the seeds attached? Are they all the same size?
- Listen: What sound does the pulp make when you squeeze it?
For toddlers and preschoolers this is the whole experiment, and that is fine. Give them words (“slippery,” “stringy,” “fibrous”) and let them lead. This kind of hands-on exploring is also a natural fit with the ideas in our guide to simple science activities for preschoolers.
3. Estimate and count the seeds
Counting pumpkin seeds turns a messy job into a math and science activity.
- Before opening the pumpkin, ask everyone to guess how many seeds are inside. Write the guesses down.
- Scoop out the seeds and rinse off the pulp in a colander.
- Spread them on a towel and count them in groups of ten. Small paper cups or an egg carton make it easy to keep track.
- Compare the real total with the guesses. Whose estimate was closest?
The number varies a lot from pumpkin to pumpkin, which is exactly what makes it interesting. For older children, count the seeds in two pumpkins of different sizes and ask: “Does a bigger pumpkin always have more seeds?” Record the answer rather than assuming it.
4. Measure the pumpkin three ways
Measuring gives children practice with tools and comparison.
- Around: Wrap a piece of string around the widest part, mark it, then lay it next to a ruler.
- Tall: Measure from the bottom to the top of the stem.
- Heavy: Weigh it on a kitchen or bathroom scale. Weigh it again after scooping out the insides and talk about the difference.
Preschoolers can compare without numbers: cut a string the length of the pumpkin’s middle and ask, “Is it longer or shorter than your arm?” Kindergarteners and up can write numbers in a simple table. If you have two pumpkins, ask children to predict which is heavier just by looking, then check.
5. The fizzing pumpkin volcano
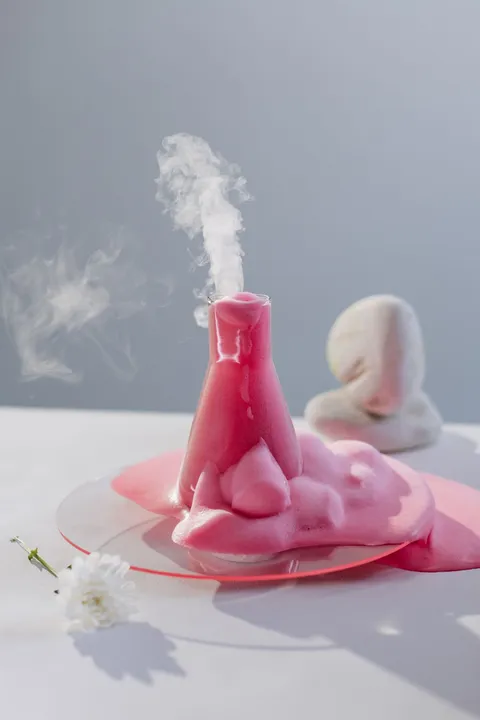
This is a pumpkin version of the classic reaction in our baking soda and vinegar volcano guide, and it is the one children usually ask to repeat.
- Use a small hollowed-out pumpkin, set on a tray or baking dish.
- Put two or three spoonfuls of baking soda inside, plus a squirt of dish soap and a few drops of food coloring.
- Ask for a prediction: “What will happen when we add vinegar?”
- Pour in about half a cup of vinegar and step back.
- Watch the foam bubble up and spill over. Add more vinegar to go again.
Why it works: baking soda and vinegar react to make carbon dioxide gas. The dish soap traps the gas in bubbles, which makes a thicker foam. Keep vinegar away from eyes and have children wear old clothes; the foam is safe to touch but should not be tasted.
6. Sprout pumpkin seeds in a bag
This experiment takes a week or two and teaches patience and observation.
- Take three or four clean, raw seeds from your pumpkin.
- Fold a damp (not dripping) paper towel, place the seeds on it and slide it into a clear zip bag.
- Tape the bag to a sunny window.
- Check every day and draw what you see.
Not every seed will sprout, and seeds from some store-bought pumpkins may not sprout at all, so plant a few and treat it as a real test. If roots appear, children can see how the root grows down and the first leaves push up. If nothing happens after two weeks, talk about possible reasons, which is good science too.
7. Watch a pumpkin decay
For older children, a decaying pumpkin is a slow, fascinating investigation.
- Put a small carved pumpkin or a piece of pumpkin in a clear, lidded container outdoors or somewhere well ventilated.
- Take a photo or make a drawing every two or three days.
- Note changes in color, shape, smell and any mold.
Keep the container closed and do not let children touch or sniff the mold closely. Anyone with mold allergies or asthma should skip this one. When you finish, the pumpkin can go into a compost bin, which leads into a conversation about how things break down and return to the soil.
Adapting pumpkin science by age
- Toddlers (2–3): Sensory exploring, sink or float, scooping seeds between bowls. Short sessions, close supervision.
- Preschool (3–5): Add predictions, counting small groups, comparing sizes, the volcano with an adult pouring.
- Kindergarten (5–6): Counting by tens, measuring with string and a ruler, drawing results.
- Grade school (7–10): Fair tests, data tables, graphs, seed sprouting and the decay log. For more ideas that scale by age, see our list of easy STEM activities using household items.
Recording results so the learning sticks
Children remember experiments better when they draw or write about them. A simple page works: “I think… I did… I saw… Next time I will try…” If you want a ready-made format, My Science Lab: Experiment Journal for Kids is a 25-page printable journal for ages 5 to 9 with 10 kitchen experiments, observation pages and space to draw results, so pumpkin day can lead into more science at home.
On a rainy or quieter day, the pumpkin theme can continue on paper. The Halloween Activity Book for Kids is a 25-page printable for ages 4 to 8 with counting, pattern matching, mazes and pumpkin coloring pages. For more seasonal experiments, try our Halloween science experiments for kids.
Bringing it together
You do not need special equipment for real science. One pumpkin gives children a chance to predict, test, measure, count and explain, and those are the same habits scientists use. Start with sink or float, let the seeds become a counting challenge, and finish with a fizzing volcano. Keep an adult in charge of the knife, keep the experiment pumpkin out of the kitchen, and let your child’s questions decide what you test next.