At five, children are curious about everything, ask “why?” constantly and learn best with their hands. That makes science experiments for 5 year olds a natural fit, provided they are short, safe and visual. The eight ideas below use kitchen items, take about 10 to 15 minutes and give a clear result you can talk about together.
Before you begin, a quick word on approach: you do not need to explain the science perfectly. The goal is to practice noticing, predicting and describing, which are the habits behind every later science lesson. If your child is younger, our guide to simple science activities for preschoolers has gentler options, and for a full overview see science experiments for kids by age.
What makes an experiment work for a five-year-old
- Fast results. Choose activities where something visibly changes within a few minutes.
- Hands-on. Pouring, stirring, dropping and watching beat listening to explanations.
- One variable at a time. Test one thing (warm water versus cold water) so the result is easy to read.
- A prediction first. Ask “What do you think will happen?” and accept any answer.
- A way to record. A quick drawing is a great “lab report” for children who cannot write much yet.
Set up a simple routine
- Cover the table with a tray or old towel.
- Gather the materials before calling your child.
- Say the question out loud (“Which things will float?”).
- Let your child guess, then test.
- Talk about what happened and draw it.
The same five steps work for every experiment below.
Many experiments use items from the pantry. For more, see our kitchen science experiments for kids.
1. Sink or float
You need: a bowl or sink of water and 6 to 8 small items such as a spoon, a cork, a grape, a plastic toy, a coin and a leaf.
Steps: Ask your child to guess whether each item will sink or float and place it in a “sink” or “float” pile. Then drop each item in and check.
Ask: “Were there any surprises? Is heavy always sinking?”
Note: Keep small items away from children who still put things in their mouths, and watch around water.
2. Color mixing with water
You need: three clear cups of water, red, yellow and blue food coloring and a few empty cups.
Steps: Add a few drops of one color to each cup. Pour a little of two colors together into an empty cup and watch what happens. Try every pair.
Ask: “What new color did we make? What do you think red and blue will make?” Our article on easy science experiments with food coloring has more ideas along these lines.
Note: Food coloring can stain clothes and surfaces, so use an apron or old shirt.
3. Dancing raisins
You need: a clear glass of fizzy water (sparkling water or clear soda) and a handful of raisins.
Steps: Drop raisins into the glass and watch them rise and sink as bubbles gather on them.
Ask: “What do you see on the raisins? Why do you think they go up?” A simple explanation is that the bubbles lift them up and when the bubbles pop, they sink again.
Note: Raisins are a choking hazard for some young children, and the drink should not be consumed during the experiment.
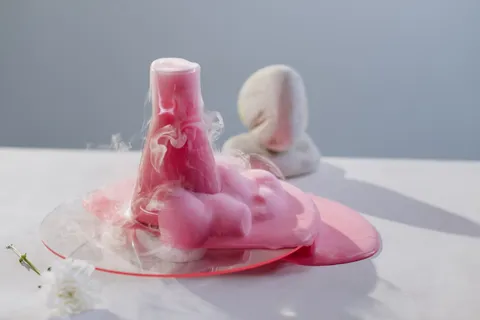
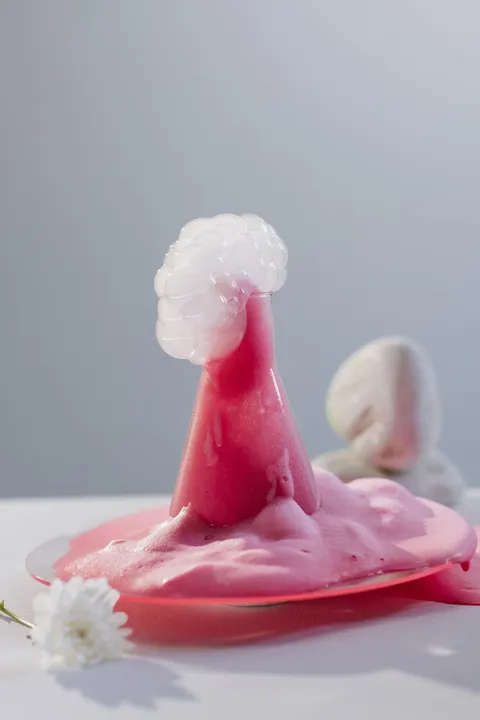
4. Baking soda and vinegar fizz
You need: a tray, a cup, 2 tablespoons of baking soda, vinegar and optional food coloring.
Steps: Put the baking soda in the cup on the tray. Let your child pour in a little vinegar and watch the fizz.
Ask: “What did you hear? What did you see? Where did the fizz come from?” You can say that mixing the two creates bubbles of gas.
Note: Do this in a well-ventilated space, keep it away from eyes and supervise closely. Do not seal the mixture in a closed bottle or container, because pressure can build up.
5. Rainbow milk
You need: a shallow plate, whole milk, food coloring and a drop of dish soap on a cotton swab.
Steps: Pour milk into the plate, add drops of color and touch the center with the soapy cotton swab. The colors will swirl.
Ask: “What moved? What do you think the soap is doing?” See our full guide to the rainbow milk experiment for the details.
Note: Check for dairy allergies, and do not let children drink the milk afterwards.
6. Melting ice race
You need: several ice cubes, small bowls, salt, sugar and warm water.
Steps: Put one ice cube in each bowl. Sprinkle salt on one, sugar on another and pour warm water on a third. Leave one plain. Check every few minutes.
Ask: “Which melts fastest? Which melts slowest? Why might that be?”
Note: Do not let children taste the salt or sugar after it has been on the ice. This experiment takes longer, so let children do something else between checks.
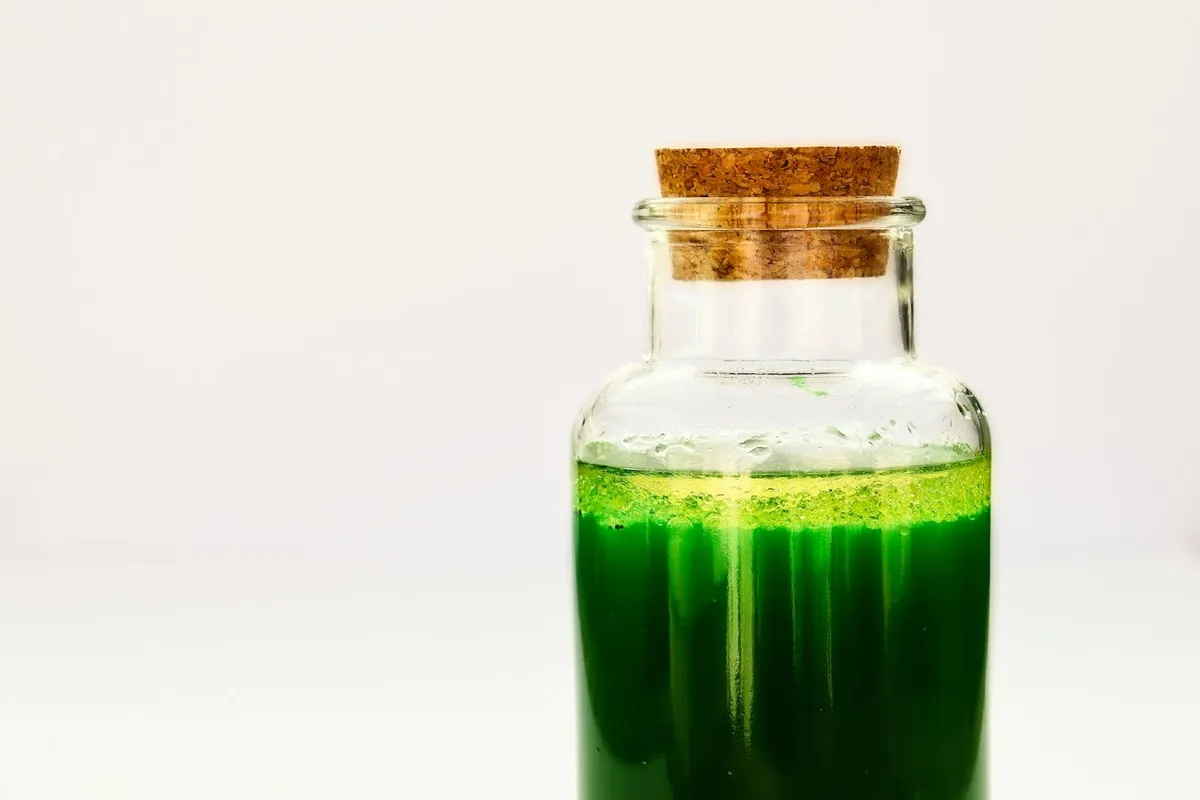
7. Oil and water
You need: a clear jar half-filled with water, a little cooking oil and a few drops of food coloring.
Steps: Pour the oil into the water and watch it float. Add a drop of food coloring and observe how it sinks through the oil and then spreads in the water.
Ask: “Which one is on top? What happens when we shake it? What happens after we wait?”
Note: Make sure the lid is on tight if you shake the jar, and never pour oil down the sink without wiping the jar first.
8. Invisible ink with lemon juice
You need: lemon juice, a cotton swab, white paper and a warm lamp bulb or sunny window (adult handling heat).
Steps: Let your child draw a picture with lemon juice on the paper. Let it dry. An adult can then hold the paper near a warm light source (not touching) until the picture slowly turns brown.
Ask: “What happened? Where did the picture come from?”
Note: An adult should handle any heat source, and the paper must never touch a hot bulb. For a fuller guide, read our article on the invisible ink experiment for kids.
Keep a simple lab sheet
After each experiment, give your child a piece of paper folded in half. On one side they draw “What I thought would happen” and on the other “What happened”. This builds the habit of comparing a guess with a result. If you would like a ready-made version, My Science Lab: Experiment Journal for Kids is a 25-page printable PDF for ages 5 to 9 with 10 kitchen experiments, materials lists, observation pages and space to draw and record results.
Tips for keeping a five-year-old engaged
- Keep your turn short. Give instructions in one or two sentences, then hand over the materials.
- Let them do the pouring. Even if it spills, ownership matters.
- Do it twice. Repeating an experiment with one change shows what the change does.
- Welcome “failures”. If nothing happens, ask “What could we change?” That is real science.
- Stop while it is fun. Ten good minutes beat thirty tired ones.
General safety reminders
- Supervise all experiments, and keep materials away from mouths, eyes and pets.
- Check for food allergies, particularly milk, nuts and dyes.
- Keep a damp cloth ready for spills and wash hands afterwards.
- Do not let children taste experiment materials, even when they are edible ingredients.
- Never combine household cleaning products; stick to the ingredients listed.