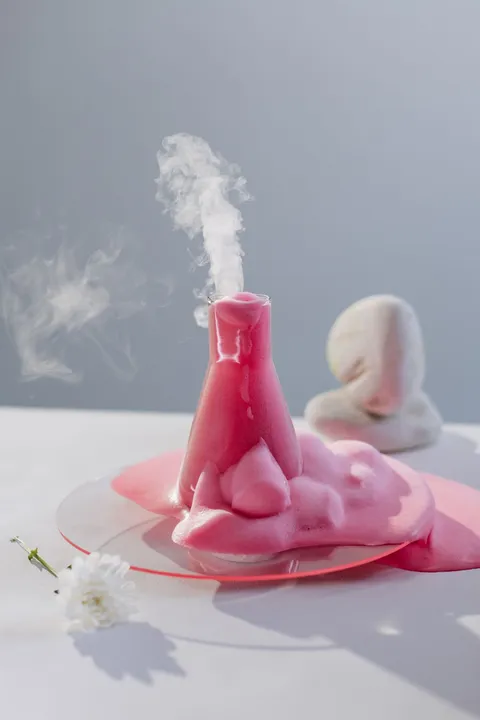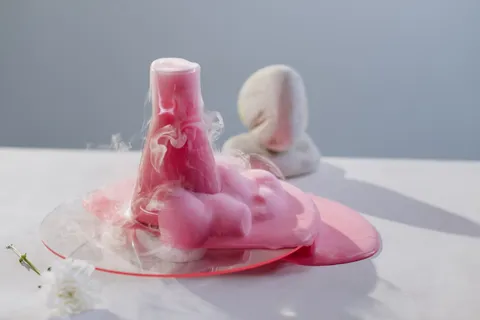
A kitchen is a small laboratory that nobody has to buy. The shelves hold powders, liquids, acids and bases, and the freezer makes ice on demand. With a few clear cups and a curious child, an ordinary afternoon can turn into a series of small investigations.
This guide gives you eight kitchen science experiments for kids, each with materials, steps, a simple explanation and a note on what to watch for. It also covers the rules that keep kitchen science calm and safe, and a way to record results so the learning sticks.
Before you start: set up your kitchen lab
A little preparation saves a lot of mopping.
- Clear a work area. Use a tray, a baking sheet with a rim or a washable tablecloth so spills stay in one place.
- Gather everything first. Children lose interest quickly while you hunt for the second spoon.
- Label with a marker. Strips of masking tape on cups let children compare “cup A” and “cup B” without losing track.
- Keep a towel and a bowl of water nearby for hands, wipes and quick clean-ups.
- Decide the roles. Younger children pour, stir and observe; older children measure, time and write things down.
Check allergies and ingredients first
Many pantry experiments use milk, eggs or wheat flour. If anyone in your home has an allergy or sensitivity, read each experiment’s materials before you start and swap or skip as needed. Even when a child will not eat anything, touching or inhaling some ingredients can bother sensitive skin or lungs, so ask your child’s doctor if you are unsure. Where an experiment needs an ingredient that is not suitable for your family, a different experiment on this list will usually do just as well.
Experiment 1: Can salt melt ice?
You need: ice cubes, a plate or shallow tray, table salt, a spoon, and optionally a few drops of food coloring.
- Place two ice cubes on the plate, a little apart.
- Sprinkle salt over one of them and leave the other plain.
- Watch for a few minutes. Look at the surface, the water that collects and any small channels that form.
- Optional: drip a little food coloring on the salted cube and watch where the color travels.
What is going on: Salt dissolves in the thin film of water on the ice and lowers the temperature at which that water freezes. The salted ice tends to melt faster than the plain cube, which is why salt is spread on icy paths in winter. Ask your child to predict which cube melts first, then compare.
Experiment 2: Dancing raisins
You need: a clear glass of fizzy (carbonated) water or lemon-lime soda, and a few raisins.
- Pour the fizzy drink into the glass.
- Drop in four or five raisins.
- Watch them for a few minutes.
What is going on: Tiny bubbles of carbon dioxide gather on the wrinkled surface of each raisin. The bubbles can lift the raisin toward the top. When the bubbles pop at the surface, the raisin sinks again. The up-and-down motion looks like dancing. The fizz fades over time, so the show works best with a fresh drink.
Younger children enjoy simply watching. Older children can try a second glass with flat water and compare what happens.
Experiment 3: Magic milk
You need: a shallow dish of whole or reduced-fat milk, food coloring, cotton swabs and dish soap.
- Pour a thin layer of milk into the dish.
- Add a few drops of different food colors, spaced out.
- Dip a clean cotton swab in dish soap.
- Touch the soapy tip to the center of the milk and hold it still.
What is going on: Dish soap changes how the milk’s surface and fats behave, and the colors are pushed around as it spreads. The swirling lasts for a short while, then slows. If you want a closer look at this one, see our full guide to the rainbow milk experiment. Milk is the key ingredient, so skip this one if a milk allergy is a concern.
Experiment 4: Baking soda and vinegar fizz
You need: baking soda, white vinegar, a cup or bottle, a tray and a spoon.
- Put a couple of tablespoons of baking soda in the cup, on the tray.
- Pour in vinegar slowly and watch the fizz.
- Repeat with less baking soda, or add a drop of dish soap for thicker foam.
What is going on: Baking soda is a base and vinegar is an acid. When they meet, they react and produce carbon dioxide gas, which is the foam you see. The reaction stops when one of the two is used up. Keep the container open so gas can escape. Our baking soda and vinegar volcano guide shows a bigger version with a few ways to change the result.
Experiment 5: Invisible ink
You need: lemon juice, a small bowl, a cotton swab or paintbrush, plain white paper, and a lamp or an adult-held warm surface for the reveal.
- Dip the swab in lemon juice and write a message on the paper.
- Let the paper dry completely. The writing should become very faint.
- An adult then holds the paper near a warm lightbulb or a warm iron on a low setting, keeping paper and hot surface from touching for long. Do not use a flame.
- Watch the message slowly turn light brown.
What is going on: Lemon juice weakens the paper fibers and tends to brown at a lower temperature than the paper around it, so the writing appears as the paper warms. This is the one experiment on the list where heat matters, so an adult handles that step and children keep their hands away from the warm surface.
Experiment 6: Homemade lava lamp
You need: a clear jar or bottle, vegetable oil, water, food coloring and an effervescent tablet, or baking soda and vinegar as an alternative.
- Fill the jar about three quarters with oil.
- Add water until the jar is nearly full. The water sinks below the oil.
- Add several drops of food coloring. They sink through the oil and color the water.
- Break a tablet into pieces and drop one in. Watch the colored bubbles rise and fall.
What is going on: Oil and water do not mix, and oil floats on top of water. Gas bubbles from the tablet carry colored water upward, and the blobs sink again when the gas escapes. You can read more variations in our lava lamp experiment guide.
Experiment 7: Homemade play dough
You need: flour, salt, water, a little vegetable oil, and food coloring. An adult does any stovetop cooking, or you can use a no-cook version.
- Mix the dry ingredients in a bowl.
- Add the wet ingredients gradually and stir.
- Knead the dough until it is smooth, adding a little flour if it feels sticky or a little water if it crumbles.
- Compare the dough to a store-bought one. Which is softer? Which keeps its shape?
What is going on: This one is about mixing ingredients and noticing how a recipe changes as you adjust amounts. It is also a good test of one-variable-at-a-time science: make two batches with a different amount of salt and compare. Contains wheat flour, so skip it for children with wheat or gluten concerns, and remember that it is for squishing, not eating.
Experiment 8: The bouncy egg
You need: a raw egg, a jar or glass and enough white vinegar to cover the egg.
- Gently place the egg in the jar and cover it with vinegar.
- Watch the bubbles on the shell. Then leave it for a day or more.
- Rinse the egg gently under cool water and feel the rubbery surface.
What is going on: Vinegar reacts with the eggshell and gradually breaks it down, leaving the thin membrane that holds the egg together. It is one of the best “wait and see” experiments, and it has its own guide with a day-by-day plan. Because this one uses a raw egg, wash hands carefully afterwards and keep everything away from food. Skip it if eggs are an allergy concern.
Make it real science with predictions and notes
Any of the experiments above becomes more than a trick when children make a prediction first and write or draw what happened afterwards.
- Ask “What do you think will happen?” before every attempt. There are no wrong guesses.
- Change one thing at a time. Two spoons of salt versus one, warm water versus cold. Fair comparisons are the heart of experimenting.
- Record results. A quick drawing, a tally or a sentence is enough. Younger children can tell you and you write it down.
- Talk about surprises. An unexpected result is a gift, because it gives you something to wonder about.
A small notebook works fine for this. If your child likes having a ready-made place for it, My Science Lab: Experiment Journal for Kids is a 25-page printable PDF for ages 5 to 9 with 10 kitchen experiments, materials lists, step-by-step instructions and observation pages with room to draw and write. It is $4.99. Its experiments include Can Salt Melt Ice?, Dancing Raisins, Invisible Ink, Bouncy Egg and Magic Milk, so it follows a lot of what you will find in this article.
Clean-up and keeping it calm
- Pour liquids down the sink with plenty of water.
- Wipe the tray, wash cups and spoons with warm soapy water, and wash hands.
- Keep experiment cups out of the food cupboard so nothing gets mixed up with real meals.
- Let children help clean up. Putting the lab away is part of doing science properly.
Where to go next
If you are building a collection of easy ideas, Easy Science Experiments for Kids With Food Coloring has five colorful options, and Easy STEM Activities for Kids Using Household Items goes beyond the kitchen into building and testing projects.