Few toys are as magical to a child as a magnet. It tugs at things without touching them, it can make a paper clip appear to float and it sometimes pushes back. Magnet experiments for kids need very little equipment and teach early physics ideas such as force, materials and prediction.
This guide covers what to gather, six simple experiments, what magnets do and do not attract, how to explain it all in kid-friendly terms and, importantly, how to keep magnet play safe. For more ideas using things you already own, see our easy STEM activities using household items.
Safety first: read this before you start
Other basics:
- Keep magnets away from phones, credit cards, pacemakers and other sensitive items.
- Do not drop or hit magnets; they can chip and break.
- Keep paper clips and other small items away from children who still put things in their mouths.
What you need
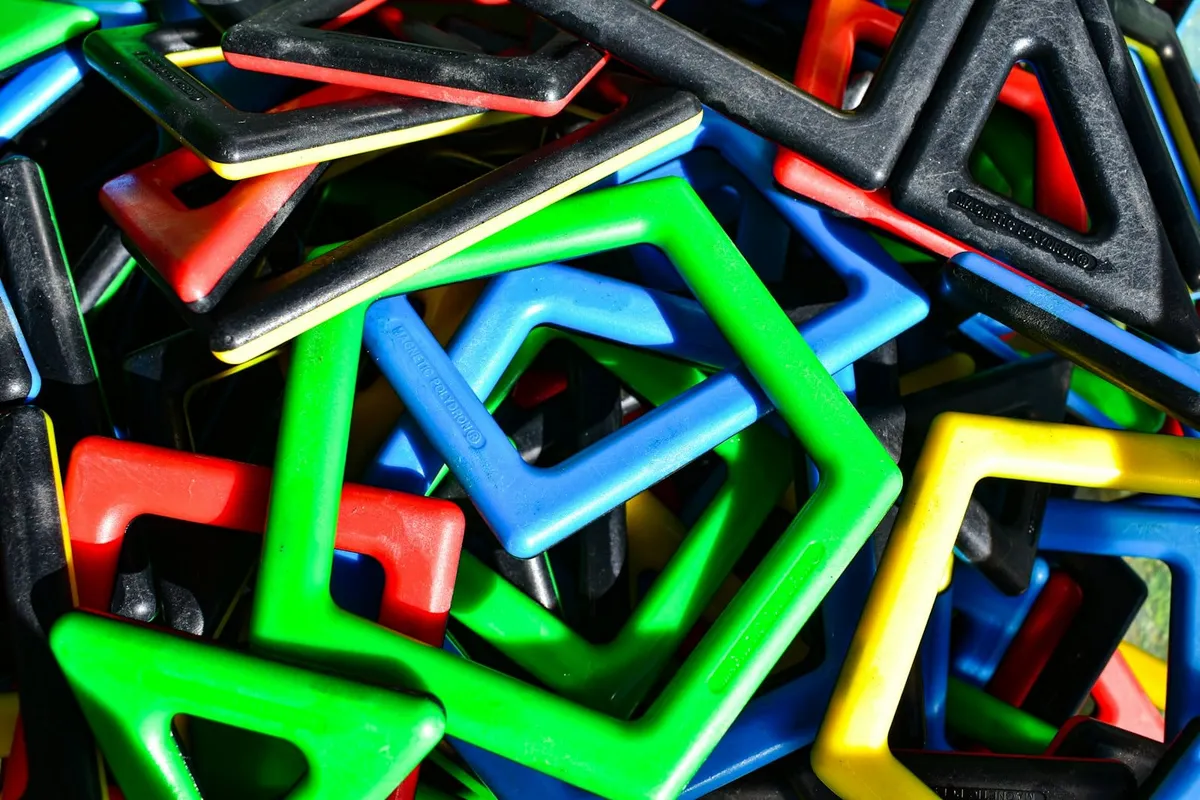
- 1 or 2 large bar or horseshoe magnets (or a set of large magnetic building shapes)
- A box of steel paper clips
- A variety of household items (a key, a coin, a spoon, a piece of foil, a pencil, a rubber, a button, a nail, a paper cup)
- A cardboard box lid or thin paper plate
- Paper, tape, string and a pencil
- A small tray to keep things in one place
Experiment 1: What sticks?
Goal: Find out which things a magnet picks up.
- Lay out the household items on a tray.
- Make two labeled spaces: “Sticks” and “Doesn’t stick”.
- Ask your child to guess for each item and place it in a space.
- Test each item with the magnet and move any that were wrong.
Talk about it: “Were there any surprises? Is everything that is shiny magnetic?” Children often assume all metals stick. Steel paper clips and nails usually do; many coins, foil and aluminum do not.
Experiment 2: Magnet through the table
Goal: See that magnetic force can pass through some materials.
- Place a paper clip on a sheet of cardboard or a paper plate.
- Hold the magnet underneath and move it slowly.
- Watch the clip follow the magnet.
Try different materials between the magnet and the clip: paper, cardboard, a plastic lid, a thin wooden board. See how many layers you can add before the clip stops following.
Talk about it: “What happened when we added more layers? Why do you think it stopped?” A simple answer: the farther away the magnet is, the weaker its pull.
Experiment 3: How strong is the magnet?
Goal: Compare strength by counting.
- Dip the magnet into a pile of paper clips and lift it out.
- Count how many clips cling to it.
- Try again with a different magnet or a different part of the same magnet.
Record the numbers in a small table. Children can predict “Which magnet will pick up more?” and check.
Talk about it: “Where are the clips clustered? Is the pull the same everywhere?” Many bar magnets pull most strongly near the ends.
Experiment 4: Push and pull (poles)
Goal: Discover that magnets can attract or repel each other.
- Take two bar magnets (or magnetic shapes).
- Bring them close together and notice whether they pull or push apart.
- Flip one over and try again.
Talk about it: “When did they stick? When did they push away?” You can explain that each magnet has two ends, called poles, and that different poles pull together and the same poles push apart.
Note: Keep fingers clear of the gap, because magnets can snap together and pinch.
Experiment 5: Magnetic maze
Goal: Use a magnet to steer an object along a path.
- Draw a simple maze or road on a paper plate or cardboard lid.
- Place a paper clip at the start.
- Hold the magnet underneath and guide the clip along the path to the finish.
Children can make their own maze, add obstacles and time each other. This is a good chance to practice fine-motor control and problem solving.
Experiment 6: The floating paper clip
Goal: Watch a clip appear to hover.
- Tape a piece of thread to a paper clip and tape the other end of the thread to the table.
- Hold the magnet above the clip and slowly raise it until the thread is taut and the clip lifts into the air.
- Try moving the magnet around to see how far the clip will stay up.
Talk about it: “What is holding the clip up? What is the string for?” Children enjoy the “magic” of seeing a clip float with no hand touching it.
Note: Use a large magnet, and supervise the clips and the thread.
What magnets do and do not attract
Magnets pull on materials that contain iron, nickel or cobalt.
| Usually attracted | Usually not attracted |
|---|---|
| Steel paper clips | Paper |
| Iron nails | Plastic |
| Many steel screws | Wood |
| Fridge doors (often steel) | Glass |
| Some tins and cans | Aluminum foil and cans |
This is a general guide. Items can behave differently depending on what they are made of, which is part of the fun of testing. Use the “predict, test, record” routine.
How to explain magnets to children
Keep it simple, concrete and playful:
- “A magnet has an invisible pull.”
- “It can pull some metals, but not everything.”
- “Magnets have two ends. Some ends pull together and some push apart.”
- “The magnet pulls less when it is farther away.”
If your child asks a question you cannot answer, say “Let’s test it” or “Let’s look it up together”. That is very much how science works.
Turn it into a mini science project
- Ask a question. “Which of these will a magnet pick up?”
- Make a prediction. Draw or write the guess.
- Test. Carry out the experiment.
- Record. Tally results or draw what happened.
- Talk. What was surprising? What would we try next?
If your child enjoys recording results, My Science Lab: Experiment Journal for Kids is a 25-page printable PDF for ages 5 to 9 with 10 kitchen experiments, materials lists, observation pages and space to draw and record results. It does not cover magnets, but it gives children a place to practice the same predict-test-record habit. For a bigger picture of how experiments grow with age, see science experiments for kids by age, and for problem-solving ideas try STEM activities that build problem-solving skills.
Extra ideas to try next
- Magnet fishing game. Tape a paper clip to paper fish, tie a magnet to a string on a stick, and “fish” them up.
- Magnetic treasure hunt. Hide steel items in a tub of rice or sand and find them with a magnet.
- Fridge door gallery. Let your child choose which drawings to display with magnets.
- Magnet sort. Sort items from around the house into magnetic and non-magnetic groups and make a poster.
Troubleshooting
- Nothing sticks. Check that the items contain iron or steel and that your magnet is not very weak.
- The clip will not float. Try a longer thread, a lighter clip or a slightly stronger magnet. Small adjustments make a big difference.
- Magnets keep snapping together. Store them with a separator (a piece of cardboard) and keep opposite poles apart when not in use.
- Interest fades quickly. Add a challenge, such as a race or a maze, or set a goal such as “find five magnetic things in the kitchen”.