A maze looks simple: draw a line from start to finish. But behind that line, a child is planning ahead, scanning, remembering dead ends and holding a pencil steady. That’s why printable mazes for kids are a favorite quiet-time activity for parents and teachers alike, and a reliable one to have in a folder for waiting rooms, rainy days and travel.
This guide explains how mazes are graded, what they build, fun ways to use them, and how to make your own.
What mazes teach
- Planning and foresight. Children look ahead and choose a route rather than guess.
- Visual tracking. Following a path with the eyes supports early reading.
- Pencil control. Staying inside narrow lines is fine motor practice.
- Persistence. Hitting a dead end and trying again builds resilience.
- Spatial reasoning. Mazes ask children to think about how space connects.
Our deeper look at why mazes are worth the table time covers the benefits in detail.
Choosing the right difficulty
The difference between an easy and a hard maze comes down to a few features:
| Level | Path width | Turns and dead ends | Typical age |
|---|---|---|---|
| Easy | Wide | Few, obvious | 3–5 |
| Medium | Moderate | Several dead ends | 6–7 |
| Hard | Narrow | Many branches, long routes | 8 and up |
If a child can finish a maze easily, move up. If they’re frustrated, step down; the goal is a little challenge, not a fight.
Ways to play beyond “solve it”
Two colors. Use a pencil for the first attempt and a marker for the final path so the child can see progress.
Reverse maze. Start at the finish and work back to the start. It changes the perspective and can be much harder.
Timed race. Compete with a sibling or beat their own record. Only add a timer if the child enjoys it.
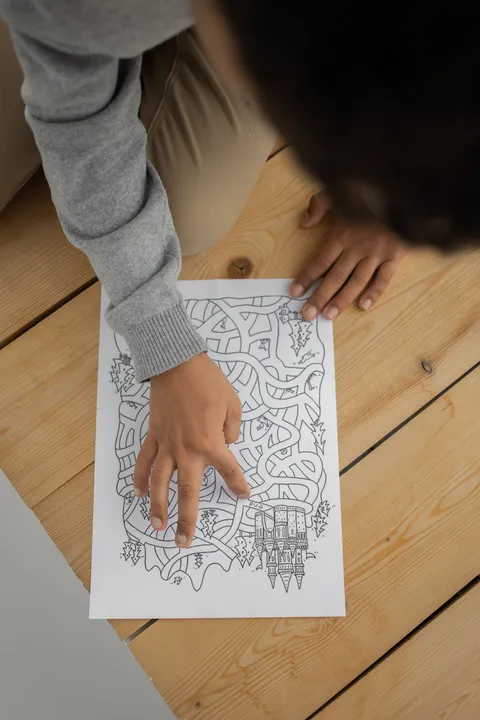
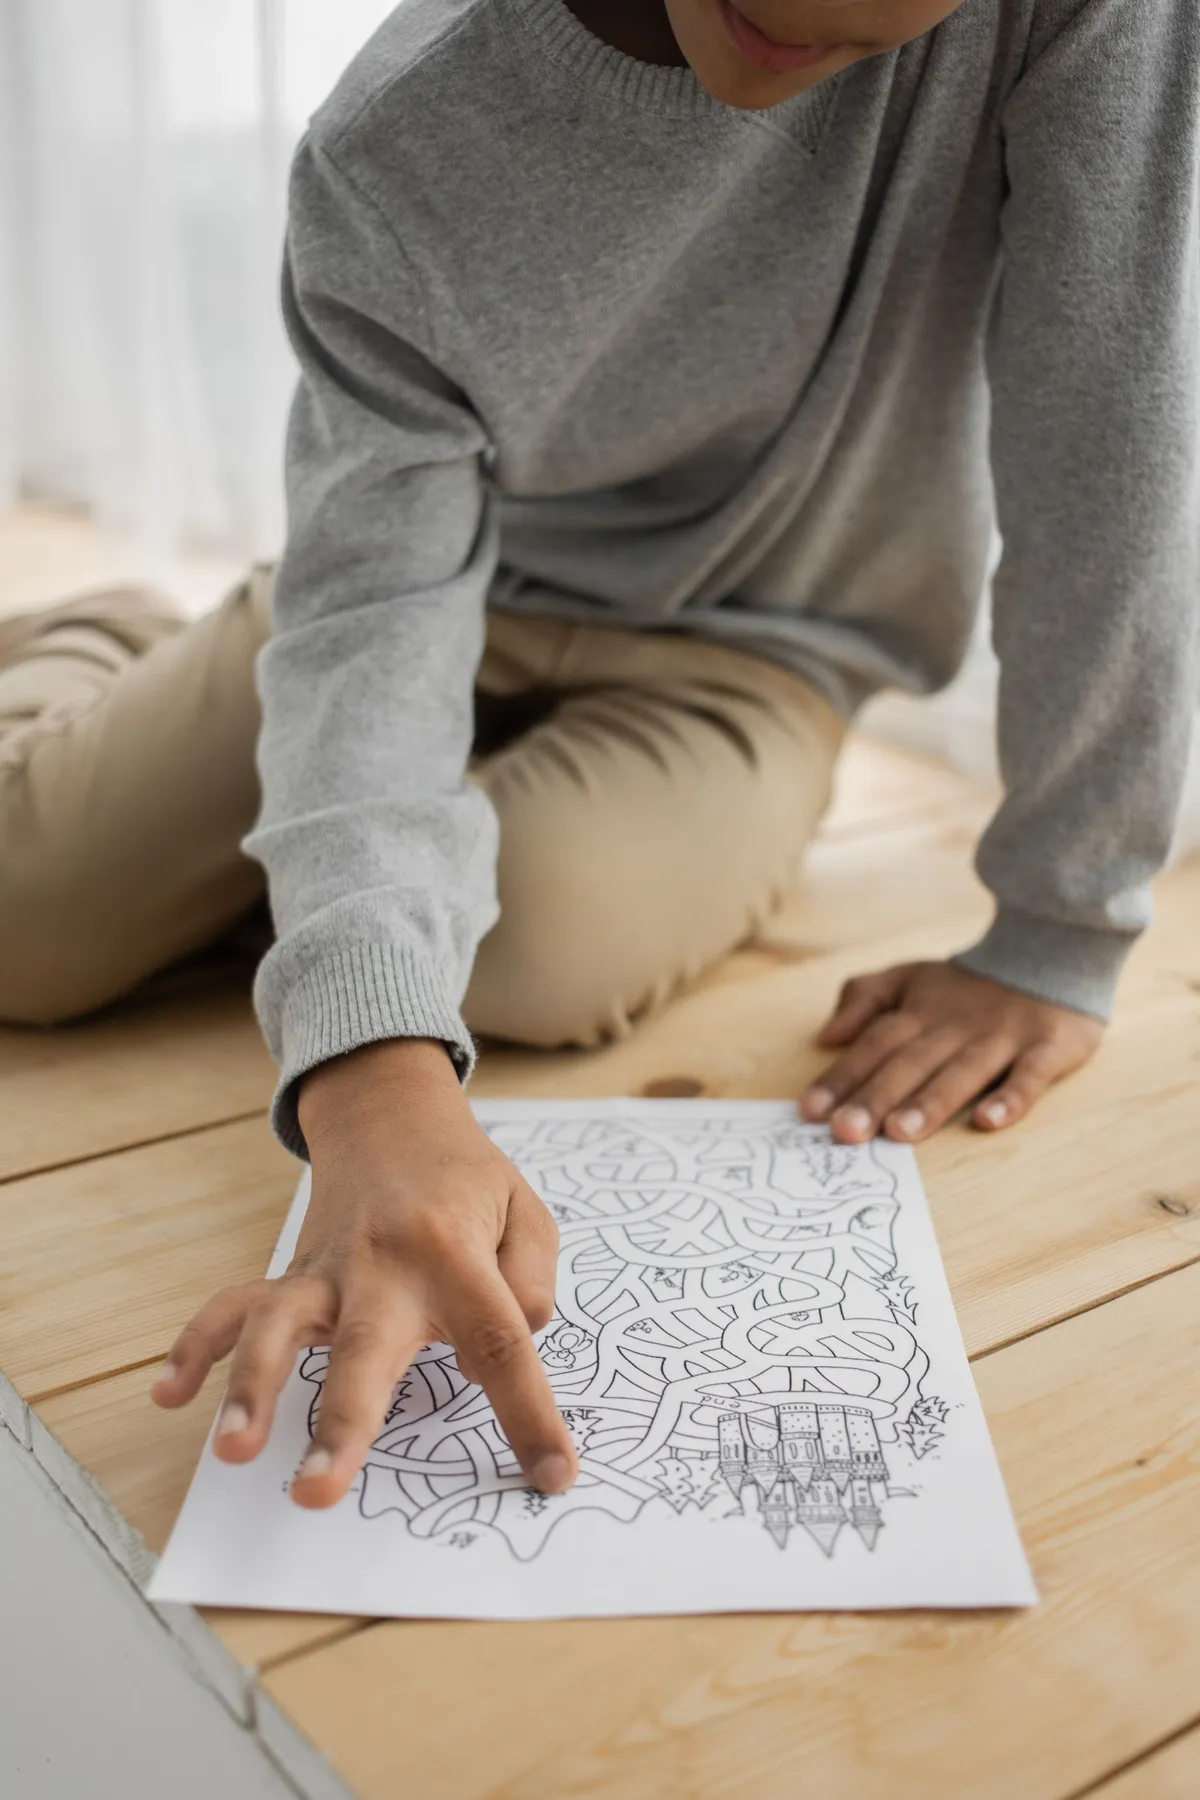
Finger tracing first. Tracing the route with a fingertip helps younger children plan before they draw.
Story maze. Turn the maze into an adventure: “The mouse needs to reach the cheese.”
Design your own. Older children draw a maze for someone else to solve, which flips the thinking from solver to designer.
How to make a simple maze at home
- Draw a rectangle on a sheet of paper.
- Mark a start and a finish on opposite sides.
- Draw the correct path first, with a few turns.
- Add walls along the path to create corridors.
- Fill the rest with dead ends and false paths, making sure each ends in a wall.
- Test-solve to make sure there’s only one route.
Graph paper makes straight lines easier for older children.
Printing and using mazes well
- Print several levels together and let the child choose the next.
- Use plain white paper for sharpness, or card stock for a sturdier surface.
- Slip pages into a plastic sleeve and use a dry-erase marker so the same maze can be solved again and again.
- Keep a maze folder in the car or bag for waiting time.
- Include solutions so children can check their route after trying.
When mazes get frustrating
Children can find a difficult maze discouraging. Try:
- Praising strategy. “You noticed that path was blocked and tried another.”
- Lowering the challenge for a few days, then building back up.
- Solving one together, modeling how you think through a dead end aloud.
- Pausing. Return to it after a break.
A ready-made maze workbook
If you’d like a graded collection instead of hunting for pages, Maze Mania for Kids — 25 Epic Mazes from Easy to Hard is a printable workbook for ages 4 to 10. It includes 25 mazes across easy, medium and hard levels, with themes such as jungle, space, underwater, castle, farm and city, clearly marked start and finish points, large paths designed for young fingers and a solutions page.
For more printable puzzle variety, see our guide to screen-free puzzle and activity books worth keeping on hand.