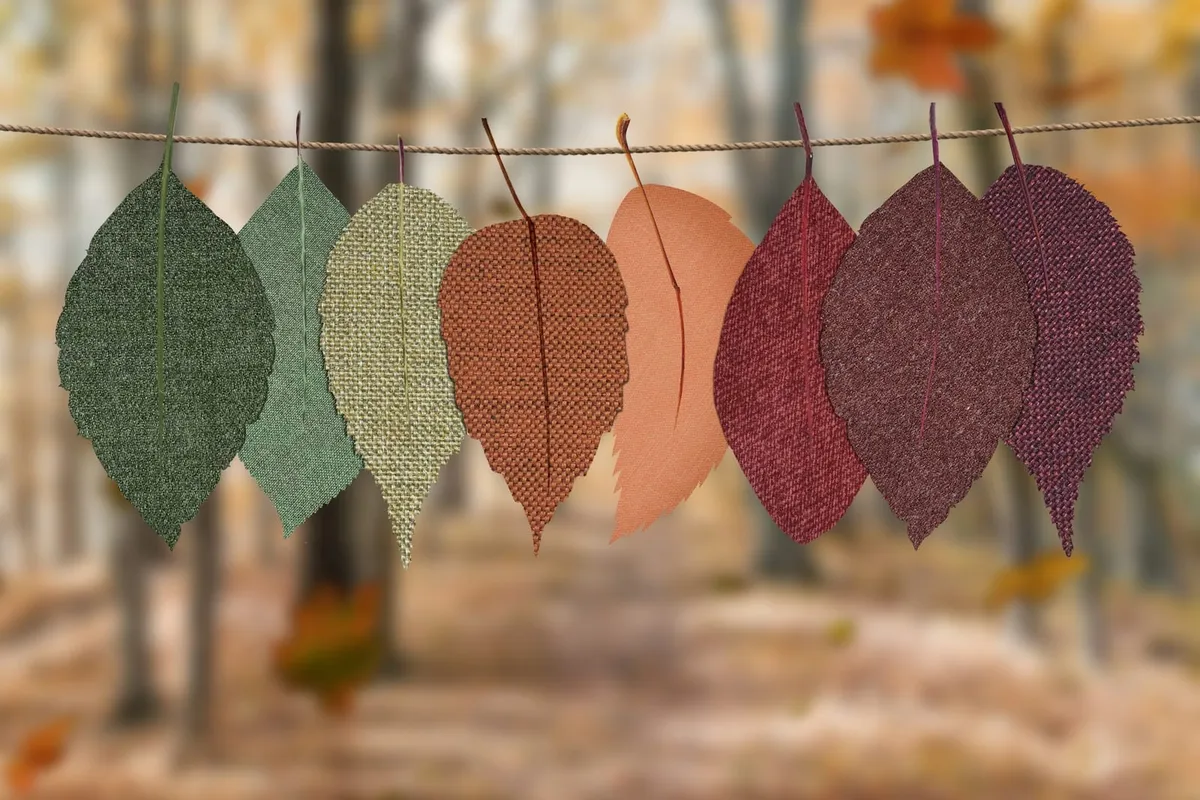
A gratitude tree is a simple fall tradition: a bare branch or paper tree that slowly fills with leaves, each one naming something a child is thankful for. By Thanksgiving it is full of colorful leaves and small memories, and your children have spent a few minutes each day noticing good things.
This guide shows two ways to make the tree, how to prepare leaves, what to ask children of different ages, and how to keep it going without it turning into a chore or a lecture about being grateful.
What you need
- A bare branch and a jar, vase or tin with stones, rice or sand to hold it steady, or brown paper or a paper bag for a wall tree
- Colored paper or card in fall shades (red, orange, yellow, brown, green)
- Scissors, a pencil and a hole punch
- String, ribbon or yarn for hanging leaves (or tape for a wall tree)
- Markers or crayons
Most families have enough in a craft drawer. For more ideas with the same basic supplies, see our paper crafts for kids.
Option 1: The branch tree
- Find a branch. Go on a short walk together and look for a fallen branch with several smaller twigs. Choosing it is part of the fun.
- Clean and dry it. Brush off dirt and let it dry overnight if it is damp.
- Set it in a jar. Fill a jar or vase with stones, dried beans or sand and push the branch in firmly. Test that it does not wobble.
- Decorate the base (optional). Wrap the jar in paper or tie a ribbon around it.
- Place it where you eat. The dinner table or a nearby shelf works best, because that is where the daily moment will happen.
Option 2: The paper wall tree
- Make a trunk. Crumple a brown paper bag or brown paper and twist it into a trunk and a few branches. Crumpling gives it texture, and children love doing it.
- Tape it to a wall or door. Use painter’s tape so it comes off without damage.
- Add a title. Write “Our Gratitude Tree” or “We Are Thankful For” on a strip of paper above it.
A wall tree is easier for toddlers to reach and safer with very young children, because there is nothing to tip over.
Preparing the leaves
- Make a template. Trace a real leaf, or draw a simple oval with a pointed tip, onto card and cut it out.
- Batch-cut leaves. Trace the template onto colored paper and cut out a stack of leaves at once, enough for each person to add one a day for a few weeks.
- Punch a hole near the stem and add a short loop of string if you are using a branch.
- Keep them in a basket next to the tree with a few markers, so the ritual takes one minute, not ten.
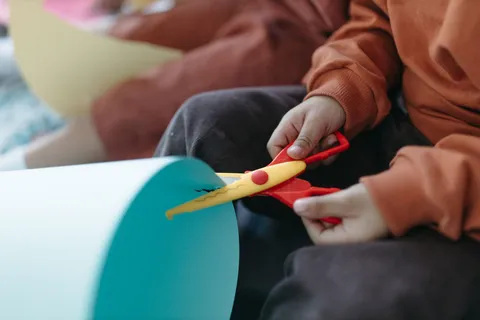
Older children can help cut the leaves, which is good fine-motor practice. Preschoolers can decorate the edges with crayons or stickers.
Talking prompts by age
“What are you grateful for?” is a big, abstract question, and many children answer “I don’t know” or “my toys.” Concrete prompts work better.
Ages 2–3: Offer choices and let them point or draw. “Do you want to put Grandma or the park on your leaf today?” An adult writes one word.
Ages 4–5: Ask about today. “What was the best part of your day?” “Who helped you today?” “What food did you love at dinner?”
Ages 6–8: Push a little further. “What is something you usually don’t notice but would miss?” “Who is someone outside our family you are thankful for?” “What is something hard that turned out okay?”
Ages 9 and up: Invite reasons. “Why are you thankful for it?” “How could you let that person know?”
Model your own answer first, out loud and honestly: “I’m thankful that the bus was on time so I didn’t have to rush.” Children learn far more from hearing adults do it than from being told to do it.
Keeping it a daily ritual
The tree is only meaningful if it grows a little every day. A few habits help:
- Attach it to something you already do. Dinner, bath time or the bedtime story are natural anchors. If you already have a read-aloud routine at home, adding a leaf just before the story works well.
- Keep it short. One leaf, one sentence, done. It should take a minute or two.
- Start about three or four weeks before Thanksgiving. That is long enough for the tree to fill up without the novelty wearing off.
- Read the leaves back. Once a week, read a few older leaves aloud. Children usually love hearing what they said.
- Let guests add a leaf. Visiting relatives and friends can join in, which makes the tree a family record.
Keep gratitude real, not forced
Gratitude is easiest to build when it feels safe and genuine. A few gentle rules:
- Accept every answer. “I’m thankful for pizza” is a perfectly good leaf. Silly answers often become more thoughtful over time.
- Don’t use it as a correction. Avoid “You should be grateful” after a meltdown; that turns the tree into a punishment.
- Allow hard days. A child who had a rough day might be thankful that it is over, or for a hug. If big feelings come up, the ideas in helping kids name and handle anger can help you talk about them first.
- Skip a day without guilt. If you miss a day, add two leaves tomorrow or just carry on.
Many families find that children begin mentioning things they are thankful for at other times too, although every child is different and there is no need to expect it.
Printable pages to support the tree
Some children enjoy writing or drawing about gratitude on a full page as well as on leaves. The Thanksgiving & Fall Activity Book for Kids is a 25-page printable for ages 4 to 8, and its gratitude section includes a My Gratitude Tree page, a What Am I Thankful For? page and a Grateful Words page, alongside fall coloring, mazes and counting.
A simple way to combine them: use the leaves every day on the family tree, and on the weekend let each child fill in one gratitude page from the book to keep in a folder.
After Thanksgiving: what to do with the leaves
- Make a keepsake. Glue the leaves into a scrapbook page or a large sheet of paper and write the year at the top.
- Photograph the tree before taking it down and print the photo for next year.
- Save a few leaves in an envelope and read them again next fall.
- Turn it into a winter tree. Some families swap the fall leaves for paper snowflakes and keep the habit going into December.
Bringing it together
A gratitude tree is a small daily pause more than a craft project. Set up a branch or paper trunk, keep a basket of leaves nearby, attach the moment to dinner or bedtime, and let children say what matters to them in their own words. By the end of the season you will have a tree full of leaves and, just as important, a family habit of noticing good things together.