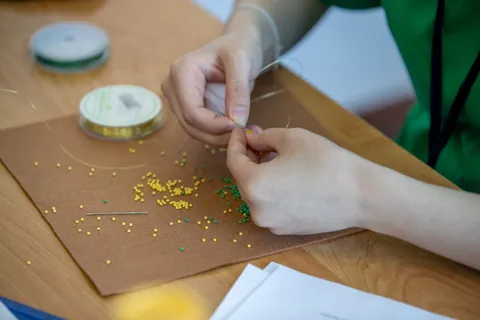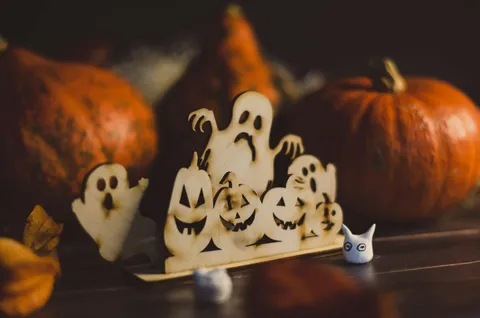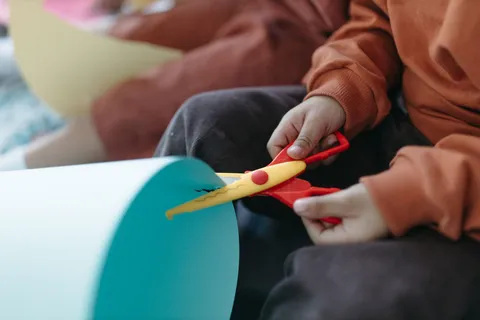
Halloween crafts are a happy mix of cutting, gluing, coloring and imagination, and they double as good practice for the small hand muscles children need for writing. The best easy Halloween crafts for kids need only supplies you already have: paper, glue, scissors and cardboard tubes from the recycling bin.
This guide has eight crafts, each with a materials list, steps and age notes, plus a section on setup and safety. If you want more paper ideas outside the Halloween theme, our guide to paper crafts for kids has twelve more.
Set up a craft tray first
A little preparation makes any craft smoother:
- Cover the table with newspaper, a plastic tablecloth or a large tray.
- Gather everything before starting: paper in orange, black and white, glue sticks, child-safe scissors, crayons or markers, tape and a few paper plates.
- Pre-cut the tricky parts for younger children: circles, wings or long strips.
- Save the tubes. Start collecting toilet paper rolls a week or two ahead so you have enough for two or three crafts.
- Put finished crafts somewhere safe to dry, such as a windowsill or a tray on top of the fridge.
Eight easy Halloween crafts
1. Toilet paper roll mummy (ages 3 and up)
You need: a toilet paper roll, white paper or crepe paper cut into thin strips, glue stick, two paper eyes (or googly eyes for older children).
Steps: Glue the strips around the roll at slightly different angles so it looks wrapped, leaving a small gap near the top for the eyes. Stick on the eyes and add a small paper mouth if you like. Toddlers can glue and press while you hold the roll. Googly eyes are a choking hazard for children who still mouth things, so use paper or drawn eyes for them.
2. Toilet paper roll bat (ages 3 and up)
You need: a toilet paper roll, black paint or black paper, two paper wings, two small paper ears, eyes.
Steps: Cover the roll with black paint or glue on black paper. Cut two wings from black paper and glue them on the sides of the roll. Add ears at the top and stick on eyes. Older children can fold the paper and cut a scalloped edge on the wings so they look more like bat wings.
3. Paper plate jack-o’-lantern (ages 2 and up)
You need: a paper plate, orange paint or orange paper, black paper, glue, a green scrap for the stem.
Steps: Paint the plate orange (or glue on orange paper), let it dry, then glue on black paper shapes for the eyes, nose and mouth. Toddlers can paint and stick; older children can cut the shapes. Let your child decide whether the pumpkin is silly, sleepy or surprised.
4. Paper plate spider web (ages 4 and up)
You need: a paper plate with the center cut out, a hole punch, black or white yarn, tape, a paper spider.
Steps: Punch holes around the rim of the plate. Tape one end of the yarn to the back, then let your child thread it across and around in different directions to make a web. This works on hand-eye coordination and is good practice for lacing. Tape the yarn end to the back to finish and glue the spider in the middle.
5. Cotton ball ghosts (ages 2 and up)
You need: a sheet of black or dark blue paper, cotton balls, glue, a white crayon or pen for faces.
Steps: Draw a ghost shape in glue on the paper, then press cotton balls onto the glue to fill it. Add two black paper eyes or draw faces with a marker once the glue is set. Cotton balls are soft and easy for small fingers to handle, but keep them away from children who chew them.
6. Paper chain bat garland (ages 5 and up)
You need: black paper, scissors, a pencil, a length of string.
Steps: Fold a long strip of paper like an accordion, draw half a bat shape against the folded edge, and cut it out through all the layers. Unfold to see a chain of bats holding wings. Hang it on a string across a window. Younger children can help by folding and decorating the finished bats with stickers or crayons.
7. Torn-paper monster collage (ages 2 and up)
You need: colored scrap paper, glue stick, a large sheet of paper, crayons.
Steps: Tear the scraps into pieces and glue them onto the large sheet to make a monster’s body. Add eyes, teeth and hair with more paper or crayons. Tearing is a good activity for young hands, and there is no wrong way to do it. Ask your child to tell you about their monster and write the name at the bottom.
8. Paper lantern with an LED light (ages 5 and up)
You need: orange or black paper, scissors, glue, a battery-operated LED tea light.
Steps: Fold a rectangle of paper in half lengthwise and cut a row of slits from the fold up to about an inch from the edge. Unfold, roll it into a cylinder and glue the ends, so the slits open into a lantern shape. Place an LED tea light inside. Never use a real candle or a hot bulb inside a paper decoration, and keep the finished lantern away from heat.
Match the craft to the age
| Age | What works best | Skills practiced |
|---|---|---|
| 1–2 years | Sticking stickers, big crayon scribbles on a plate, pressing cotton balls (with close supervision) | Grasping, pressing, exploring textures |
| 2–3 years | Tearing paper, gluing shapes, painting a paper plate | Tearing, gluing, hand control |
| 3–4 years | Toilet paper roll mummy or bat, simple cutting on thick lines | Snipping, gluing, following two steps |
| 5–7 years | Garland, lantern, spider web lacing | Cutting, folding, planning |
These are rough guides. Children vary a lot, and a supportive adult can adapt any craft up or down.
Scissor, glue and small-parts safety
- Use child-safe scissors and teach a simple rule: scissors stay on the table and cut only paper.
- Supervise young children with scissors, glue and paint. Choose non-toxic, washable products and check the labels.
- Watch small parts. Googly eyes, buttons and beads can be a choking hazard for children who still mouth things. Use paper eyes or drawings instead.
- Keep flames away. Use only battery-operated lights inside paper lanterns and keep paper decorations away from candles and heaters.
- Wash hands after painting and gluing.
What a craft session actually does for your child
Simple crafts build several skills at once, and you do not need to name them:
- Fine motor control: tearing, gluing, cutting and lacing strengthen the small muscles in the hands. Our guide to fine motor activities for preschoolers has more ideas.
- Planning and sequencing: “First the body, then the wings, then the eyes.”
- Language: describing colors, shapes and what the creation is doing.
- Confidence: finishing something real that you can hang on the wall.
Plan a craft afternoon around a rainy day
Craft time is also a good answer to a wet afternoon: our list of rainy day activities for kids has a simple structure that combines a craft, a game and quiet time. And for more Halloween ideas beyond crafts, our Halloween activities for kids at home hub covers games, treats and low-prep fun for different ages.
A quiet activity for while the glue dries
Glue and paint need time to dry. A coloring page gives children something calm to do in the meantime. Coco Wyo’s Cookie Bake Off Coloring Book is a 15-page printable PDF with baking-themed pages, including scenes of mixing, decorating, tasting and sharing. It is not Halloween-themed, but the cozy kitchen scenes make a nice quiet activity between crafts.
Bringing it together
The best Halloween crafts are simple, a little silly and finished in under half an hour. Choose one or two from this list, set up a tray, let your child make their own choices about colors and faces, and hang the results somewhere they can see them. The mess is small, the supplies are cheap and the pride your child feels in their bat, mummy or monster is worth much more than a perfect result.